Adding & Managing Routing Guides for Your Freight Network: CoyoteGO Premium User Guide
While any user can tender freight to carriers with CoyoteGO® Premium, some shippers with more complex needs may want to take their network management to the next level.
If your network is large and complex enough, you likely have at least one routing guide to help manage it. The good news for you is that CoyoteGO Premium is designed to let you take full advantage of these extremely useful documents.
This chapter will show you how CoyoteGO Premium power users get the most control possible over their supply chain by working with routing guides.
In this chapter, you’ll learn:
- A brief definition of routing guides.
- How to add a routing guide to CoyoteGO Premium.
- How to add, remove or edit carriers from your routing guides.
Routing Guides Defined
If you’re a new or growing shipper (and we know many CoyoteGO Premium users are), you may not be familiar with the term “routing guide.”
The most basic definition of a routing guide is a file or document that contains the set of freight tendering rules for your supply chain. These can include:
- Which carriers are in your network.
- The lanes you have awarded to each carrier.
- The rates you’ve agreed to for each of those lanes.
- The period of time for which the rates and awards are in effect.
Basically, as your freight network expands beyond a small handful of carriers, you add more facilities covering a wider geographical footprint and your shipping volume increases, it can be difficult to keep track of who you’re supposed to tender which freight to.
Routing guides solve this problem by collecting all the relevant information into one file that can be uploaded to a TMS platform and used to instantly tender freight without guesswork or manual data entry.
Some shippers have just one guide that contains all the primary and secondary dedicated carriers in their entire network, while others may have separate routing guides divided by mode, region or some other criteria.
Get more details on how routing guides work and how to best use them effectively for your supply chain in our guide to routing guides.
How to Add a New Routing Guide in CoyoteGO Premium
If you remember from Chapter 1 of this guide, one of the documents you can provide to our team during the onboarding process is a completed routing guide template.
We require that you work with us to add your first routing guide to CoyoteGO Premium, and we strongly recommend you continue to do so if you want to add additional guides in the future. We ask this for several reasons:
- The platform has very precise requirements for data formatting for your facility names, addresses, and so on. Letting our platform experts handle entry of this data ensures that it gets done quickly and accurately.
- When you add new carriers to the platform, we will need to reach out to them to make sure they’re set up to digitally receive your freight tenders. Bringing our team into the process as soon as possible gives you a jump start on completing this necessary step.
- Quite simply, we want your experience as a user of CoyoteGO Premium to be as seamless as possible. We’re thrilled that your business is growing to the point where your freight network is expanding, and we’re happy to do the manual lifting to support your success.
Whether you’re bringing us your first routing guide or uploading a new one, the only format we accept is a Microsoft Excel file. All you need to do is provide us with this file and we’ll work together with you to get your routing guide added ASAP.
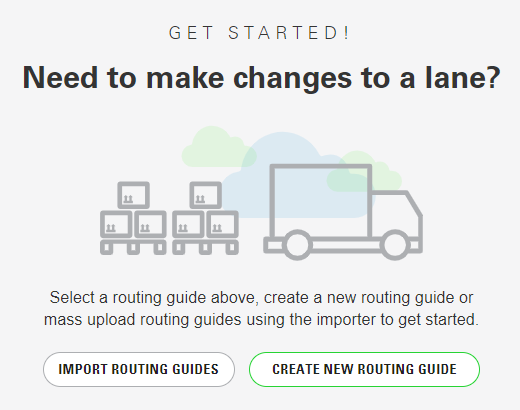
There are two ways to add your own routing guide to CoyoteGO Premium if you choose to do so:
You can import an excel file containing your routing guide data.
- You can create a new routing guide in the platform and manually enter the relevant data.
If your data contains errors or is not formatted correctly as you work through either of these methods, the platform will let you know by highlighting the relevant fields in red. Do not hesitate to reach out to us if you’re having any issues inputting your guide information.
How to Edit Your Existing Routing Guides
While you are of course welcome to reach out to us for help with small changes to your existing routing guides as well, you can also make these updates on your own.
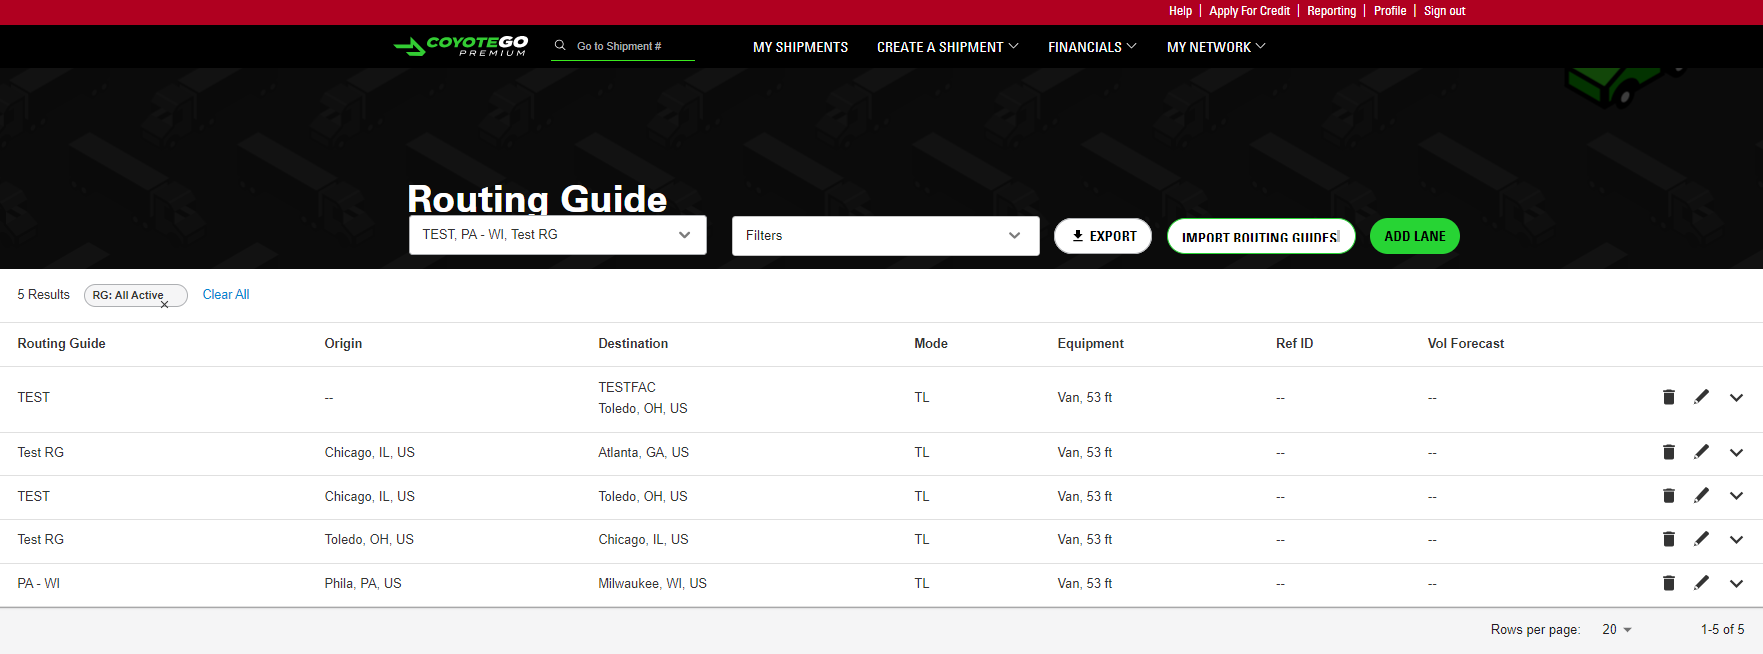
To edit an existing routing guide, navigate to the My Network tab of the header menu and select “Routing Guide.” At the top of the Routing Guide page, you will see a drop-down menu containing all of your currently active guides. Select the one you wish to edit and open it.
Once you do so, your guide will appear with a list of the lanes it contains and some high-level details for each — origin, destination, mode, equipment, reference ID number and volume forecast. To add a new lane to this guide, click the green “Add Lane” button above this list. This will open a dialogue box where you can input the details for your new lane.
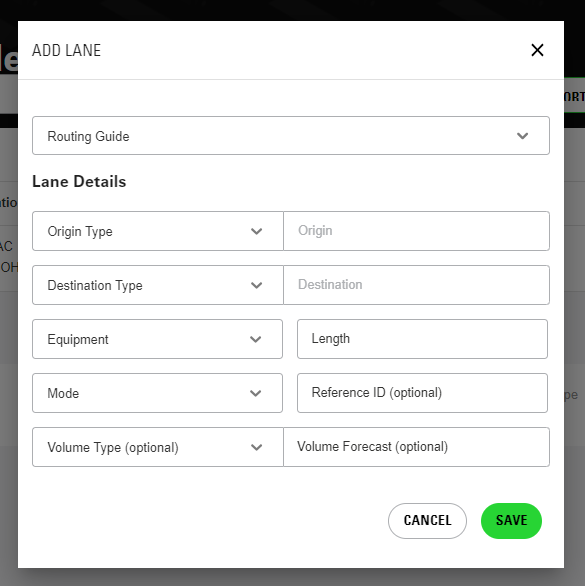
Keep in mind that if you decide to add a lane or update carrier details on your own, you still need to communicate this to your support team so we can onboard your new carrier. We want everything to work smoothly the first time you click “Tender” for your new carrier.
Ready to Be a CoyoteGO Premium Power User? Schedule a Demo
If you’d like to see how CoyoteGO Premium performs in a live setting with active routing guide data, our team can’t wait to take you for a test drive.
Reach out to your Coyote shipper rep to schedule a CoyoteGO Premium demo, or fill out the form below to get the process started on your own.
Read the Full CoyoteGO Premium User Guide
Chapter 1: Demo & Implementation
Chapter 2: Using the Dashboard & Tendering Freight
Chapter 3: Routing Guides


 You can import an excel file containing your routing guide data.